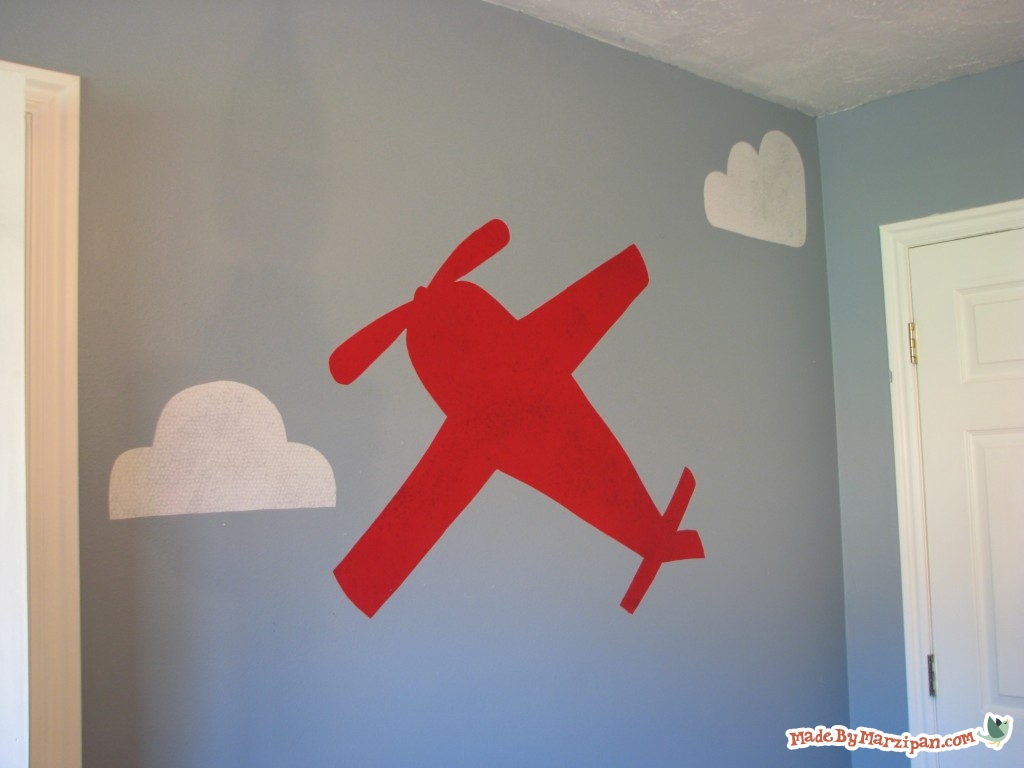
Large custom wall decals are expensive! But you can make your own fabric decal to add color and texture to any room– and yes, they’re removable!
Supplies:
- Roll of Heat n Bond Ultrahold
- Cotton fabric
- Iron (and possibly an extension cord)
- Clip art image (silhouettes are easiest)
- Pen & scissors
How To:
First, a couple of notes:
- If you’ve recently painted the walls, WAIT ONE WEEK to allow the paint to fully cure. If you don’t, you’ll risk having the paint set onto the decal, and it might peel off when you remove your decal later.
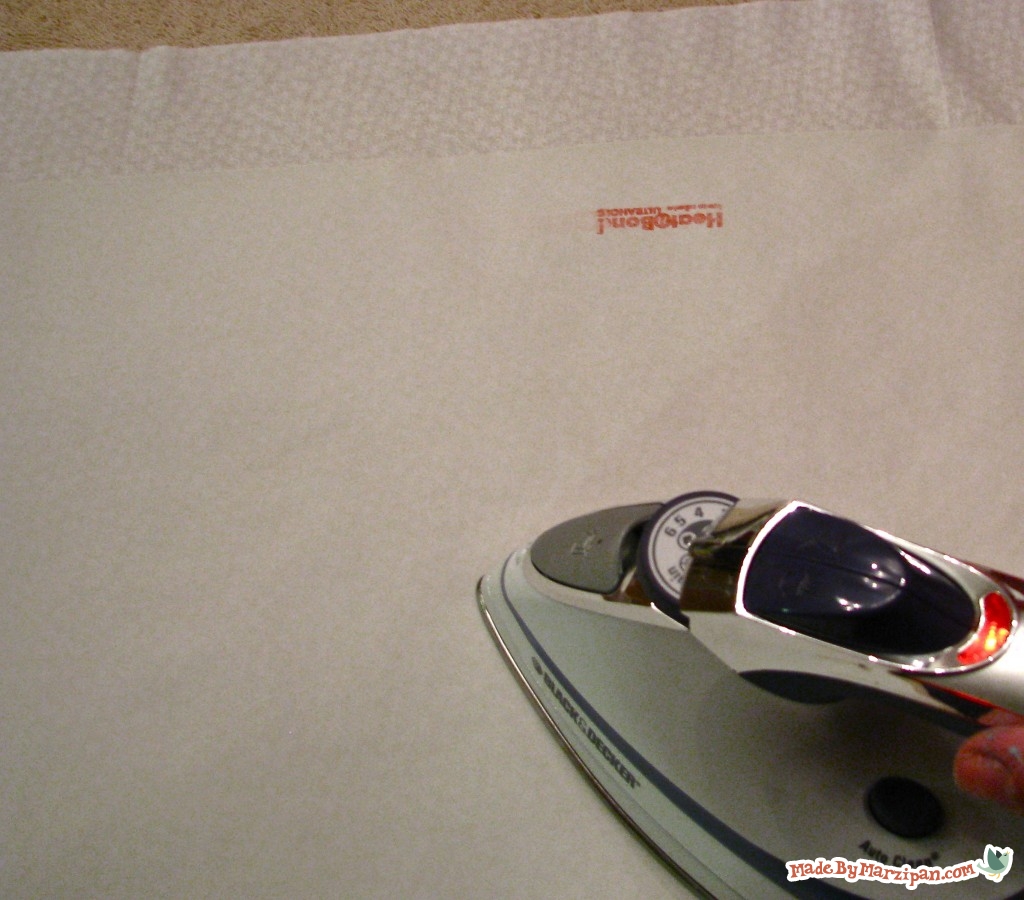
- There are a lot of different brands of iron-on adhesives. USE HEAT N BOND ULTRAHOLD. I bought a 5-yard roll of it from Wal-Mart’s fabric section. It has a thicker, plastic-like adhesive that doesn’t leave any residue on the walls.
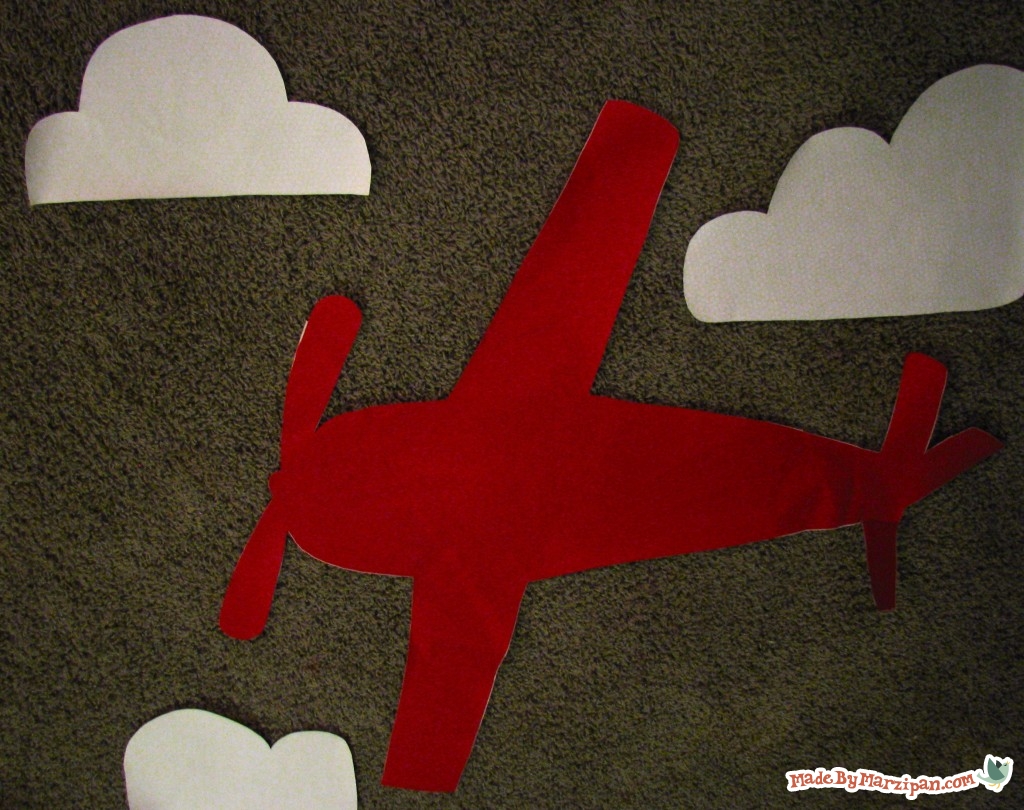
- You have some options when it comes to drawing your image. I just free-handed the airplane and clouds, but if you want a small decal (or letters) you can print them out and trace them. Or, you could have a copy shop enlarge the image and then trace it. You could also turn it into a transparency and use an overhead projector to trace your image (I work at a school, so I might sneak in and make some Pokemon decals that way!)
- If your walls have a great deal of texture, this project won’t work for you. An “orange peel” finish is fine, anything rougher will turn out lumpy.
- I’ve only used this technique on interior latex paint. If you have oil-based paint on your walls, test an inconspicuous area first (and let us know if it works for you!)
1) Now that you have your image, let’s get started by ironing your fabric. It needs to be completely wrinkle free. Then, lay the fabric face down and lay down the Heat n Bond on top of it, with the paper side facing up. Iron on top of the paper to adhere it to the fabric.
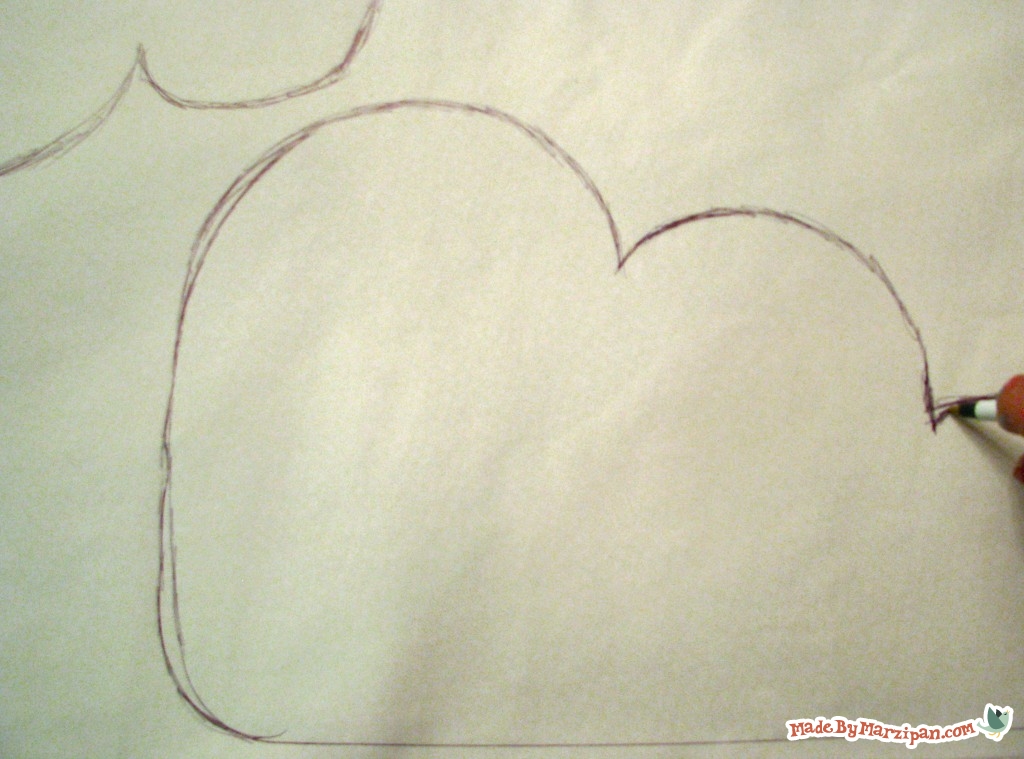
2) Draw your image directly on top of the paper backing. Remember that you are drawing on the BACK of your decal, so your image will be reversed when you cut it out. Don’t worry if you make a mistake, the paper will be removed and no one will know.
3) Cut out the decal. Iron once more, being sure that all of the edges are secure. Allow to cool completely, then peel off the paper backing.
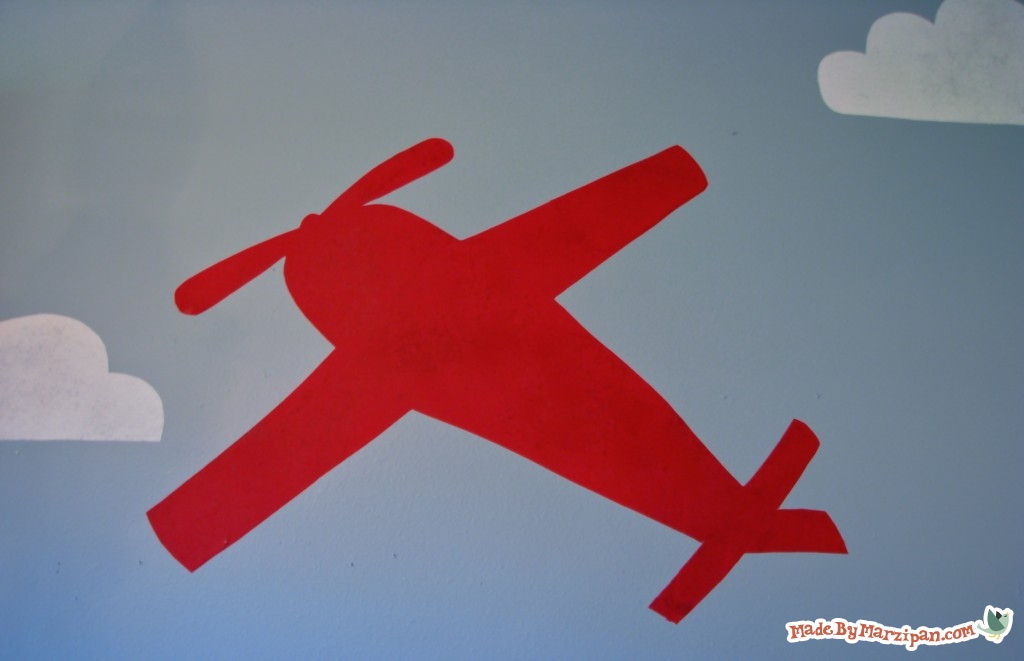
4) Iron it directly onto the wall. You might need to use an extension cord.
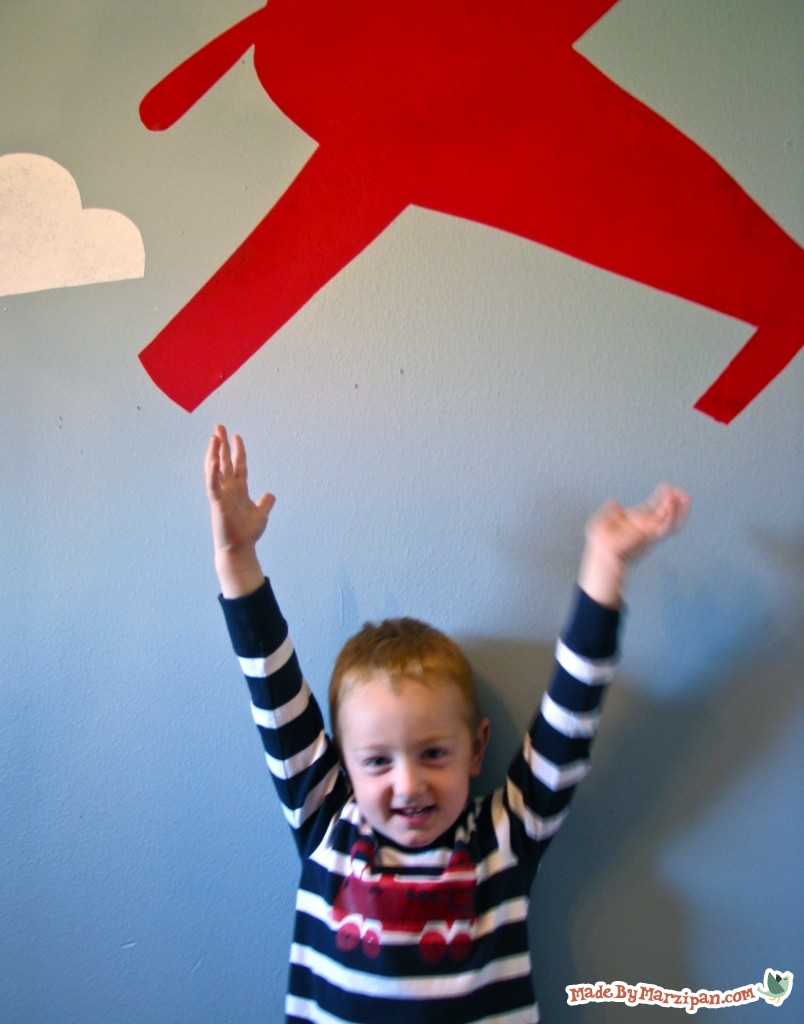
5) To remove the decal, simply peel off. It won’t take off the paint or leave any marks– BUT– you probably won’t be able to reuse the decal once it’s been removed, it loses most of its “stick.”
Remember, you can now upload your project images directly to Made By Marzipan, so if you try this, share a pic in the comments section!
If you like this, check out: